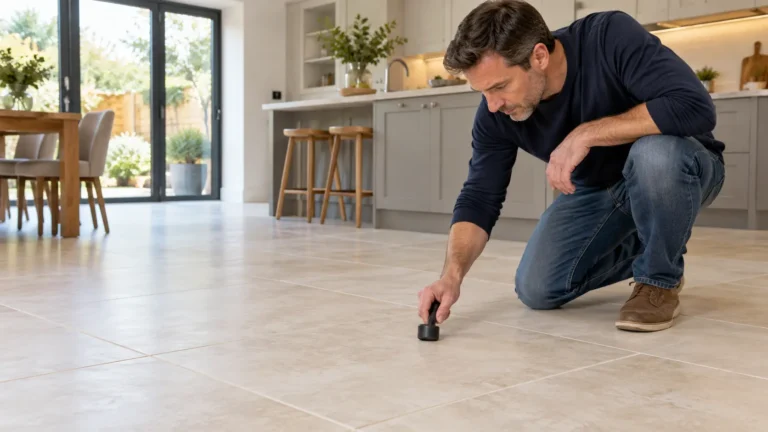
Choose the Right Trowel for 600×600 Floor Tiles Without Guesswork
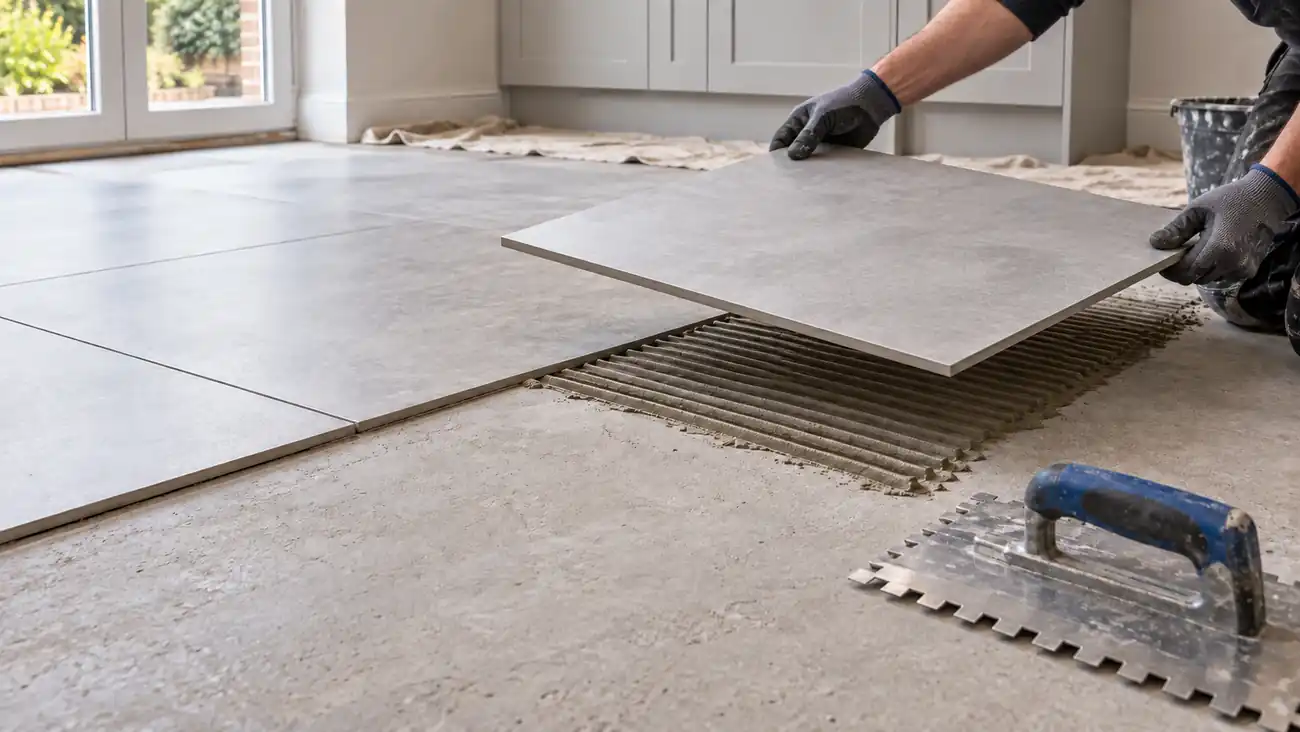
You have chosen the porcelain. The kitchen looks ready. Then someone asks, “Which trowel are you using?”
That serrated tool affects bonding and adhesive use. Yet a packet rarely tells your whole floor’s story.
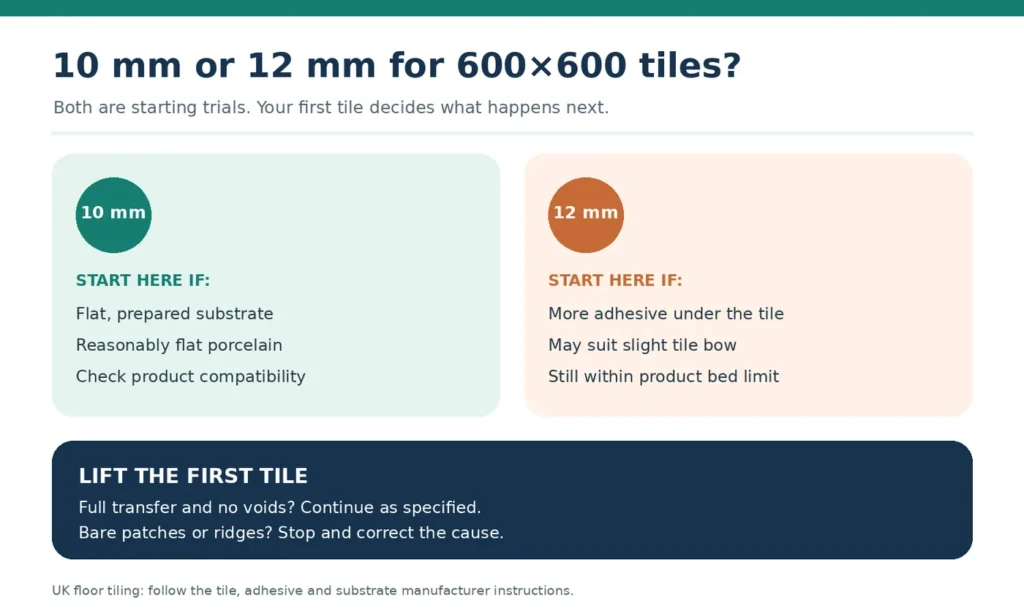
For 600×600 floor tiles on a flat base, assess a 10 mm or 12 mm notched trowel. Check your adhesive maker’s instructions. Set one tile, lift it promptly, and inspect the contact. Adjust your method if you see uncollapsed ridges or bare patches. The notch size alone cannot certify the bond.
This guide is about the tool and the fixing method. For tile quantities, cartons, and separate adhesive estimates, use our UK tile calculator. Once you have picked your trowel, our free tile adhesive calculator shows how much adhesive that notch will use.
What size trowel should you use for 600×600 floor tiles?
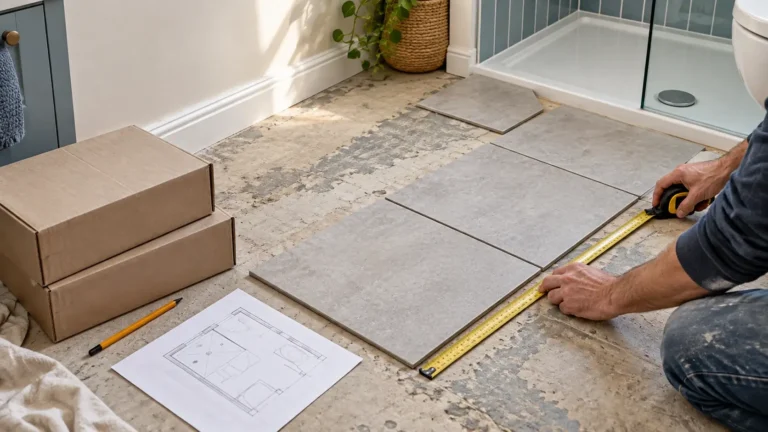
Try it on a clean, stable, suitably flat substrate with reasonably flat tiles. Use a compatible cement-based adhesive. Lift your first tile while the adhesive remains workable. If you see continuous contact, follow the system instructions and continue.
Do not infer coverage from a smooth visible edge. That edge can look perfect while the middle stays striped.
When might a 12 mm notch help 600×600 floor tiles?
A 12 mm notch can deliver more adhesive beneath a larger, slightly bowed tile. It may help with modest surface variation. It cannot rescue a badly prepared floor. Check the adhesive’s permitted finished bed thickness before choosing it.
What if 12 mm still leaves empty spots?
Stop. Check the screed flatness, trowel angle, ridges, adhesive consistency, and tile back. A larger notch is not permission to bridge humps. Correct the substrate or ask the system manufacturer about a suitable larger format or pourable adhesive.
Here is the uncomfortable opinion: buying the biggest trowel can hide a preparation problem until the tiles crack.
Why does a 12 mm notch not make a 12 mm adhesive bed?
The notch describes the tooth dimensions. It does not describe the compressed layer beneath your tile. You first raise ridges. Then you press and move the tile to collapse them.
Weber explains that a 12 mm notch held around 45 degrees raises ribs roughly 8–9 mm high. The final bed depends on rib spacing, notch shape, angle, pressure, and tile geometry. Never turn that rib height into a fixed finished thickness.
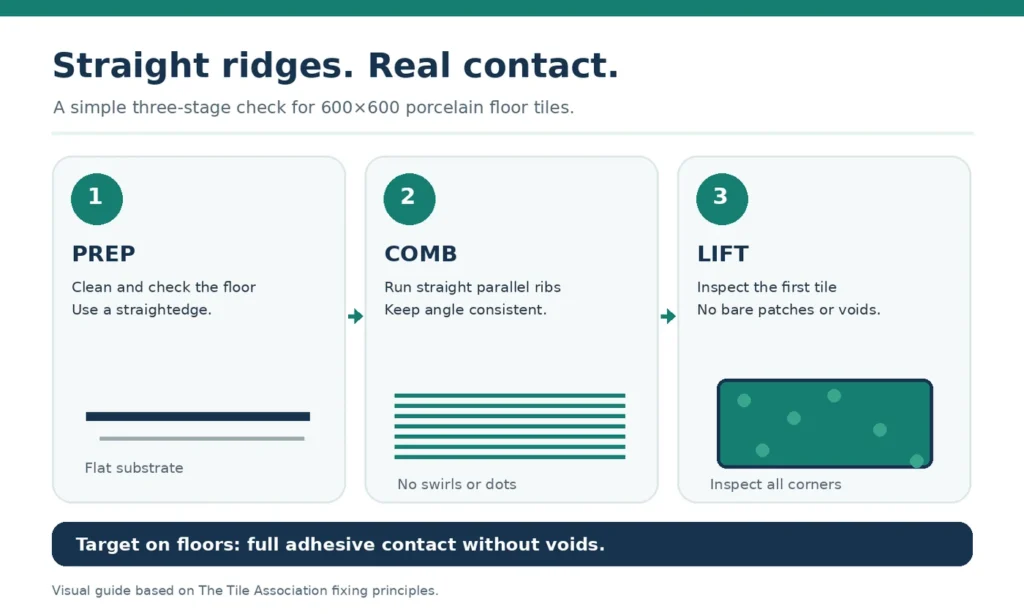
The Tile Association advises a spreading angle greater than 45 degrees. Keep your angle consistent across the floor. A flatter tool leaves less material, even when its stamped size stays the same.
Think of piping icing across a cake. The nozzle, angle, and pressure change the stripes. Under a tile, those stripes must collapse.
What should the first-tile lift test show?
You should see adhesive transferred across the back without open channels or unsupported corners. The Tile Association’s guide calls for 100% coverage without voids on floors. Treat that as your installation target, not a percentage to guess by eye.
Lift promptly, before the adhesive grabs. Look at the whole tile, especially the corners. Correct the method and repeat the test before committing to a full room. This check can save a weekend of demolition.
Which trowel details change the result most?
The notch gets attention. These details decide whether its adhesive reaches the tile.
| Detail | Sensible first choice | What to check on site |
|---|---|---|
| Tooth profile | Square notch where your adhesive maker permits | Some systems specify round or slant notches |
| Notch size | Trial 10 mm or 12 mm for 600×600 | Lift a tile and inspect contact |
| Blade angle | Keep it consistent and above 45 degrees | Thin or irregular ridges suggest a change |
| Ridge direction | Comb straight, parallel lines | Swirls can trap air |
| Tile back | Fill recessed or deeply keyed patterns | Check transfer across the entire back |
| Adhesive | Compatible cement-based floor product | Check bed depth, open time, and substrate |
Method: This table combines Weber’s provisional sizes with The Tile Association’s fixing guidance. It is a starting checklist, not a universal product specification. Follow the current data sheets for your exact assembly.
Should you back-butter 600×600 porcelain?
For large format tiles, spread a thin contact coat over the back. Fill deep keys or recessed patterns. Then place the tile on the combed bed. Tilers call this “back-buttering.”
The Tile Association’s tiling guide describes this approach for large format tiles. It also tells installers to keep the tile backs clean. Back-buttering helps contact. It cannot fix a dusty slab or an unsuitable adhesive.
Should the ridges run straight or in swirls?
Straight. Comb in one direction so air can escape as you press the tile down. Swirls form pockets that resist collapse. On 600×600 mm tiles, press with slight movement across the ridges. Follow the product and system guidance.
Can levelling clips replace the lift test?
No. Clips can help control lippage, the height difference between neighbouring tile edges. They cannot prove bond beneath the centre. A beautifully level tile can still sit over air.
How do you test the floor before mixing adhesive?
Bring a two-metre straightedge, not just enthusiasm. Weber cites the SR1 flatness benchmark of no more than 3 mm variation over 2 m. Check several directions. Mark high spots, dips, and cracks. Follow the substrate and adhesive makers’ preparation instructions.
If the floor fails the required tolerance, correct it with the right preparation system. Do not use ordinary tile adhesive as a general levelling compound. The finished bed still has a product limit.
I made a research mistake while planning this guide. I compared bag coverage figures before comparing the bed thicknesses behind them. A bigger notch can reduce coverage sharply. That is why the first bag calculation comes after the flatness and lift checks.
Use this sequence on a typical UK kitchen, hall, or utility room:
- Identify the substrate, such as a cement screed or approved backer board.
- Check stability, moisture, flatness, dust, and any required primer.
- Inspect several tile backs for bow, moulding, or deep keying.
- Choose a compatible adhesive and read its permitted bed thickness.
- Trial the manufacturer’s recommended notch, often near 10–12 mm here.
- Comb straight ridges, bed one tile, and lift it within open time.
- Adjust the preparation or fixing method until contact meets the system requirement.
That order feels slower. It protects your weekend.
What changes on a heated floor or decoupling membrane?
Heating adds thermal movement. A decoupling membrane adds a bonding layer with its own trowel instructions.
For water or electric underfloor heating
Check the commissioned heating system, screed, movement joints, and adhesive classification. The Tile Association advises solid bedding for large format tiles over underfloor heating. It says to follow the adhesive maker’s notch specification. Its heated-floor guidance calls for suitable polymer-modified cement adhesive and carefully planned joints.
Keep those movement joints where the system requires them. Grout cannot substitute for them. Neither can a thicker bed. A warm floor that moves against a rigid edge can stress the finish.
For a decoupling membrane
Separate the two adhesive stages in your plan. First, fix the membrane using its specified trowel and mortar. Then set the porcelain above it using the tile system’s method. Do not assume the membrane’s notch also fits the tile layer.
Two manufacturers may control different floor layers. Check both instructions before buying materials.
For a bathroom or wet room
Confirm the waterproofing assembly, falls, adhesive compatibility, and movement details. The same lift test matters even more around a shower. Do not form drainage falls by randomly thickening tile adhesive. Build the correct falls in the substrate system.
How much adhesive might your first test change?
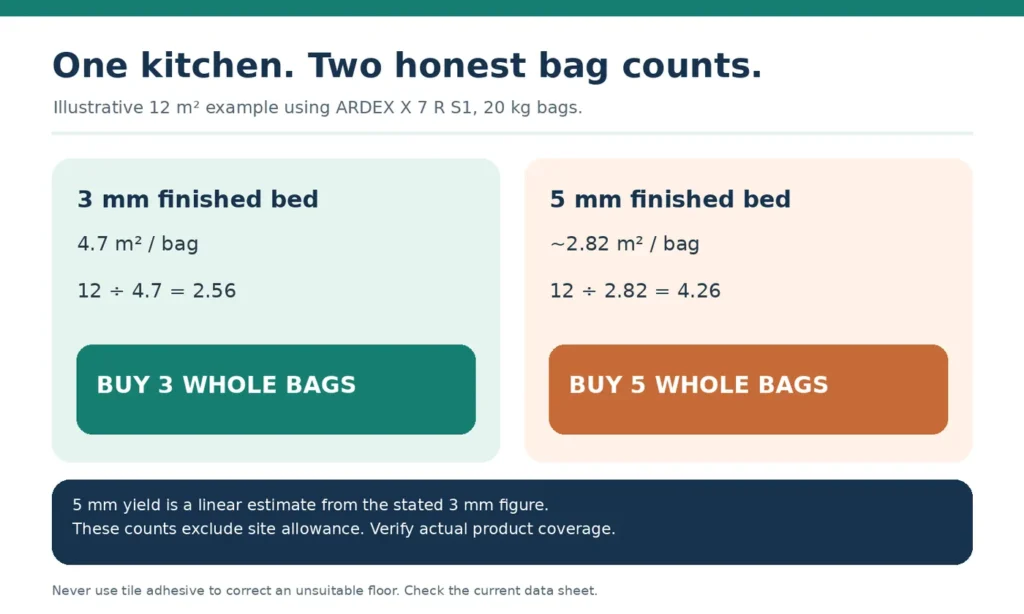
Here is an illustrative calculation, not a record of a completed installation. Imagine a flat 12 m² Manchester kitchen with 600×600 mm porcelain. Your first tile shows sound contact with a manufacturer-approved 3 mm finished bed.
As checked in October 2026, ARDEX lists X 7 R S1 as a 20 kg cement-based adhesive. Its product page states about 4.7 m² per bag at 3 mm. Divide 12 by 4.7. The result is 2.56 bags, so the theoretical minimum is three whole bags.
Now suppose the lift check shows bare areas. The system and substrate checks point to a suitable 5 mm bed. For a rough comparison, scale the same product’s 3 mm figure by 3/5. That gives about 2.82 m² per bag. Twelve divided by 2.82 equals 4.26, or five whole bags before site allowance.
The jump from three to five bags matters. It still does not justify using adhesive to flatten an unsuitable floor. The actual yield varies with back-buttering, notch geometry, waste, and site conditions. Verify the ARDEX X 7 R S1 technical data before ordering.
“Bags per square metre” means little without the assumed thickness. The same kitchen can produce two honest estimates.
For your own room, enter the measured area and the product’s coverage into our tile and adhesive estimator. Check the current bag data first. For tile cuts and carton planning, read our guide to ordering the right tiles.
What goes wrong when you spread too far ahead?
The adhesive can skin over before the tile reaches it. It may still look damp underneath. The bond face has already changed. A generous notch cannot reverse lost open time.
ARDEX lists a 20-minute open time for X 7 R S1, plus a 60-minute pot life. These measure different things. Pot life concerns mixed material in the bucket. Open time concerns material spread on the floor. Check the current bag and data sheet because conditions affect working time.
I would rather spread enough for one or two 600×600 tiles than race a whole kitchen. Two tiles cover 0.72 m² before joints. A novice can prepare, set, and inspect that area with less panic.
Dot and dab makes height adjustments feel easy. The Tile Association rejects it for floors. That shortcut can leave unsupported porcelain beneath a washing machine.
Watch for these stop signs:
- Ridges stay visible on the lifted tile with little transfer.
- One corner repeatedly shows a bare patch.
- The trowel scrapes high spots while filling nearby hollows.
- Adhesive skins before you place the next tile.
- Clips pull edges into line while the centre lacks contact.
Fix the cause immediately. Hiding it beneath grout only delays the uncomfortable conversation.
What should you decide before buying the trowel?
Choose the entire fixing system first. Record the tile dimensions, floor type, flatness, adhesive, and any heating or membrane. Then buy the notch the system recommends. Keep a second suitable size available if the first lift check fails.
Larger porcelain formats make substrate preparation more important. I expect future guidance to emphasise verified contact over one universal notch.
That is good news for DIYers. You do not need a secret trade trick. You need a straightedge, a current data sheet, patience, and the nerve to lift your first tile.