UK Aggregate & Tonnage Calculator
Calculate exact tonnage, volume, bags, and costs for UK aggregates.
More Free Tools You Might Find Helpful

Bricklaying Costs 2026: The Complete Price Guide for Materials & Labour
Introduction: The 2026 Price Landscape After a rough few years on the tools, things have finally calmed down a bit…The Ultimate UK Guide to Spalling Bricks and How to Fix Them
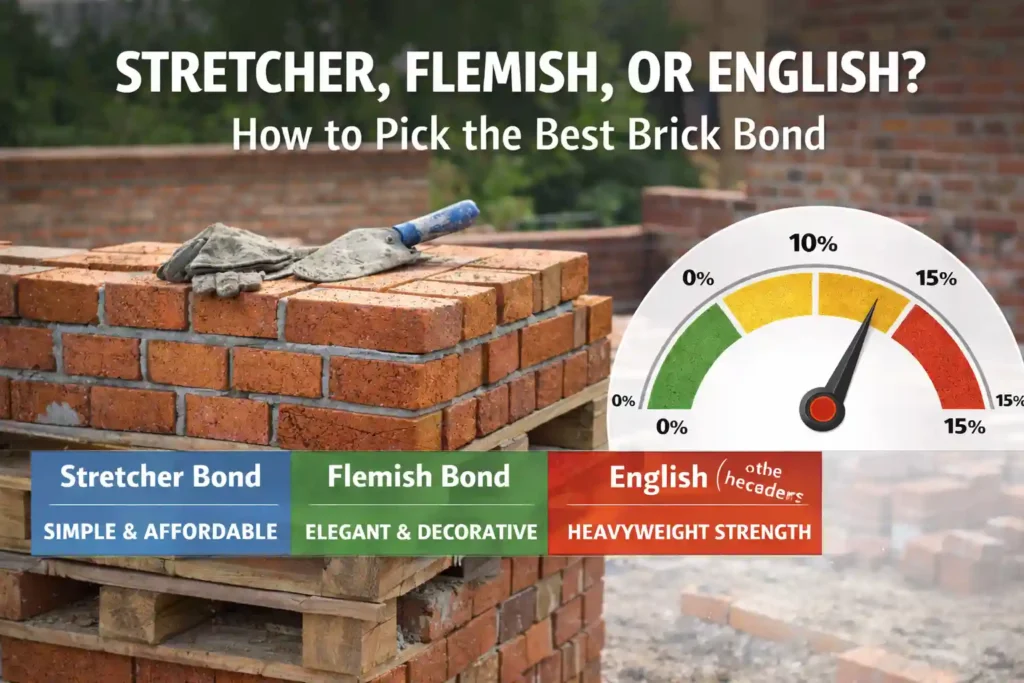
The Ugly Truth About Blown Bricks I have spent well over 14 years on building sites across the UK and…Popular Brick Bonds: Choosing Between Stretcher, Flemish, and English Bonds
Introduction When you’re standing on site, a brick wall is never just a pile of clay stacked up. It’s a…


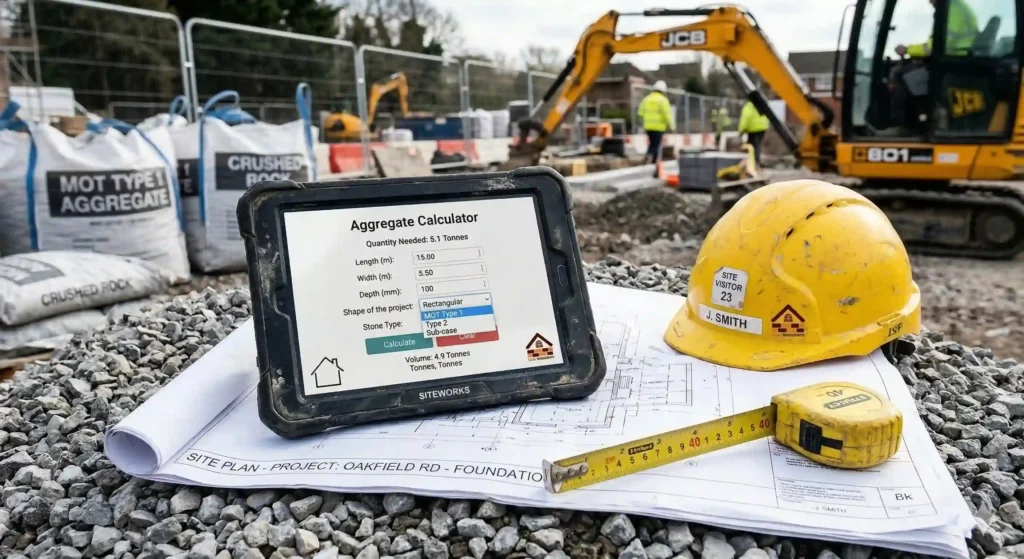
Introduction
After 15 years on UK sites, I can tell you: guessing stone quantities is a fast way to lose money. Running short on MOT Type 1 stops a job dead, while over-ordering just means paying for waste. That’s why I use this aggregate calculator. Whether you’re laying a fresh driveway or prepping a solid sub-base, just plug in your dimensions. You’ll see exactly how many tonnes or bulk bags you actually need.
How to Use This Aggregate/Stone Calculator
Look, I’ve built this tool so you don’t need a degree in math to order your materials. After years of sorting out site logistics, I know that keeping it simple is the best way to avoid mistakes. Just follow these steps:
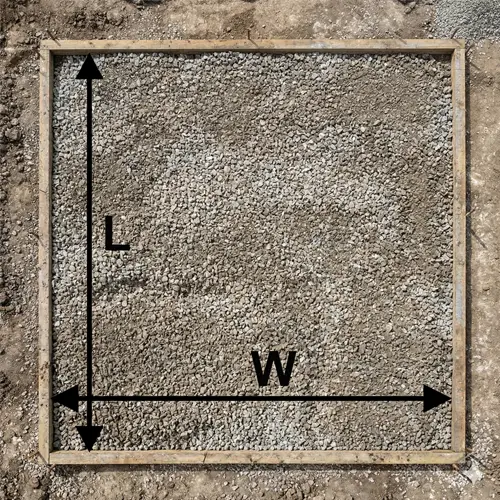
1. Pick your project shape
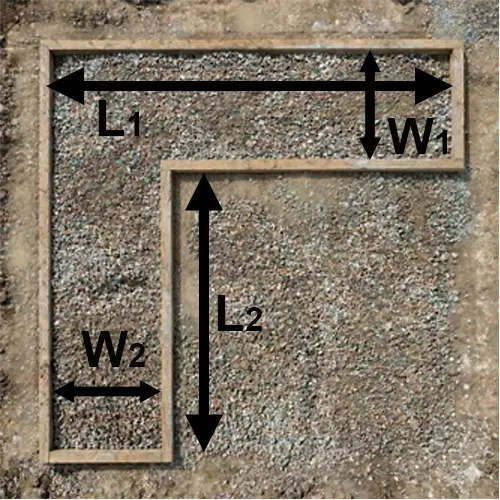
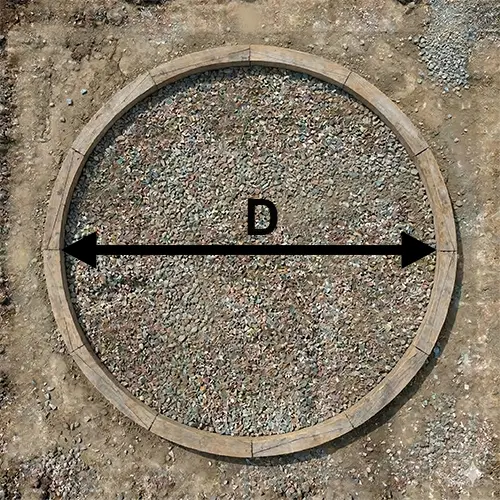
Not every patio or driveway is a perfect box. Use the drop-down to tell the calculator what your dig-out actually looks like. You can choose a standard rectangle or square, a circle for round patios, or an L-shape if you’re wrapping a path around the side of the house.
2. Pick your units
Stick to what you know. If you’ve measured up in metres and millimetres, leave it on metric. If you’re old school and prefer feet and inches, just swap the toggle over.
3. Put in your measurements
Enter your dimensions based on the shape you picked. A quick tip from the trade: if you’re laying an MOT Type 1 sub-base for a driveway, a 150mm depth is standard. If you are just topping off a path with decorative gravel, 50mm is plenty.
4. Choose your stone
Use the drop-down menu to find exactly what you’re laying. This bit is crucial. A cubic metre of wet sharp sand weighs a lot more than a load of 40mm slate chippings. The calculator automatically adjusts the density based on the exact material you pick, so your tonnage is spot on.
5. Sort the budget (Optional)
If you want to know what the damage to your wallet will be, tick the ‘Calculate Estimated Cost’ box. Chuck in your local builders’ merchant’s price per tonne.
Hit calculate, and the tool will spit out exactly how many loose tonnes you need, alongside how many standard 850kg bulk bags that translates to.
Aggregate types and sizes?
Over my 15 years on site, I’ve seen plenty of jobs go sideways just because someone ordered the wrong gear. Using the right material is just as important as getting the quantities right. You can’t just throw any old gravel down and hope for the best.
Here’s a quick rundown of the materials listed in the calculator and what we actually use them for in the trade.
Sub-Bases & Capping (The Foundations)
If your base is rubbish, whatever you put on top of it will fail. It is that simple.
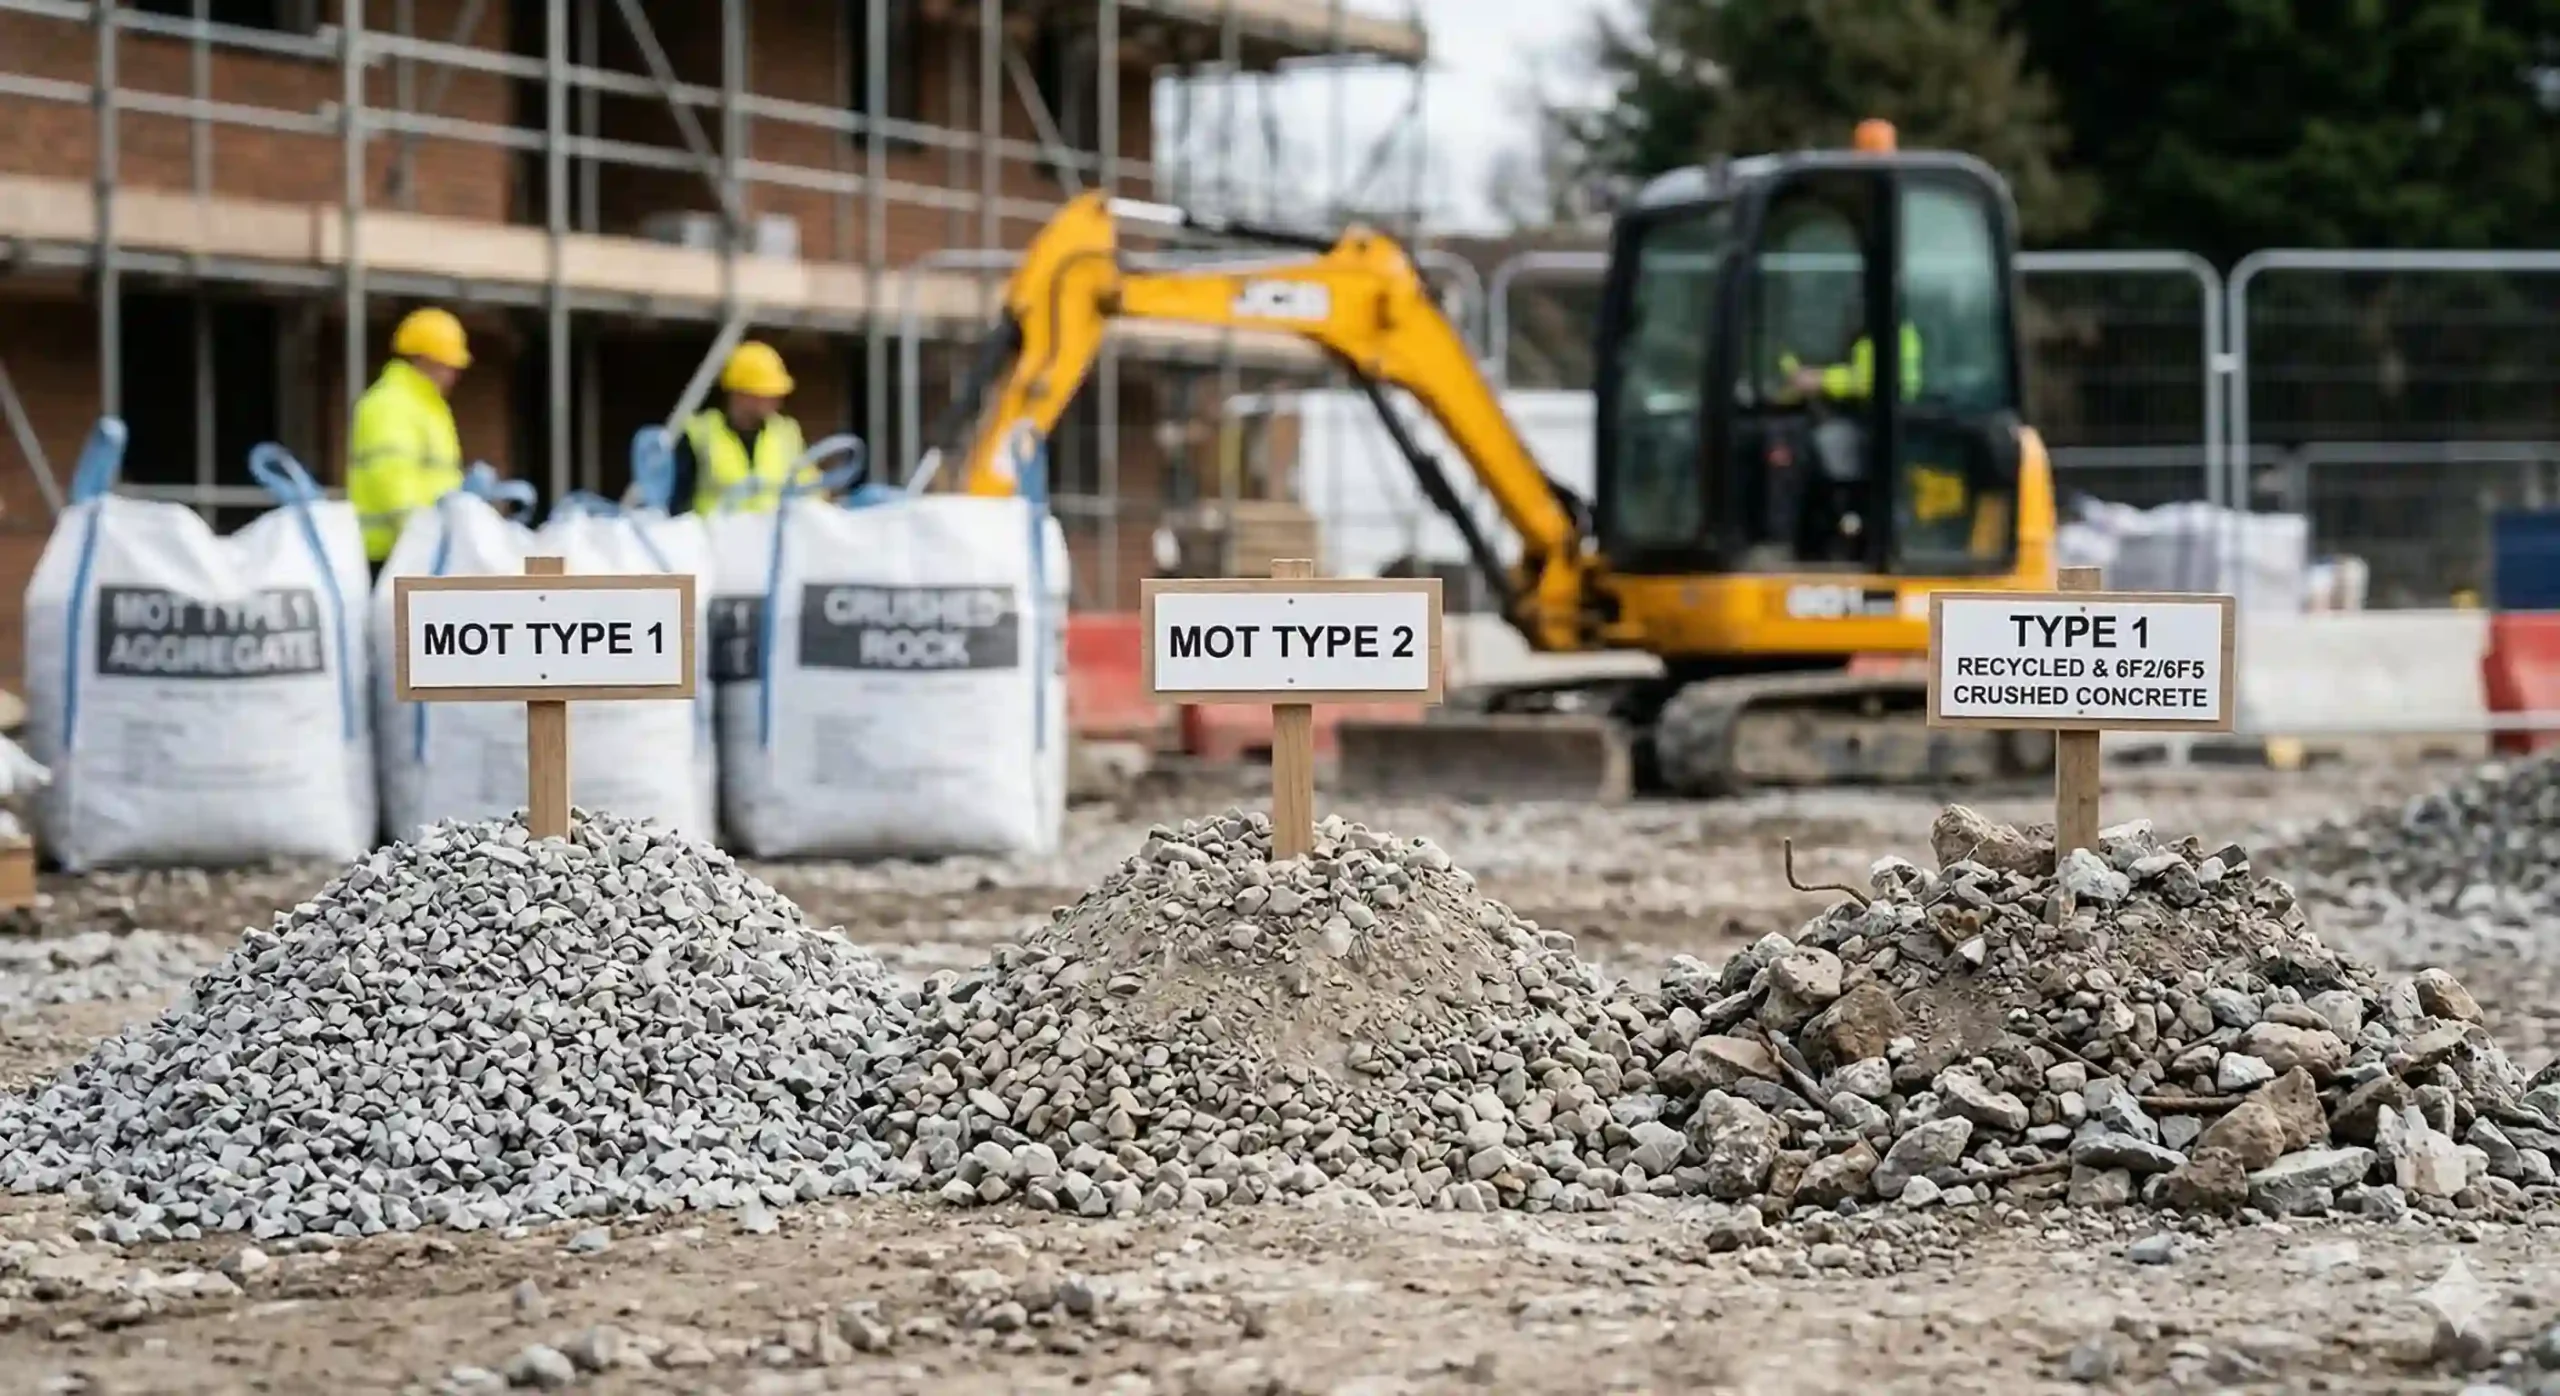
MOT Type 1
This is your bread and butter. It’s crushed stone that ranges from 40mm down to dust. When you run a wacker plate over it, the dust fills the gaps and locks it together like solid rock. Use this under all standard driveways, block paving, and patios.
MOT Type 3 (Reduced Fines):
Similar to Type 1 but with the dust filtered out. We use this when we need the water to drain through it, like under permeable block paving (SUDS compliant jobs).
Type 1 Recycled & 6F2/6F5 Crushed Concrete:
This is crushed up hardcore from old demo sites. It’s cheaper and rougher. 6F2 is usually bigger chunks (up to 75mm) and is brilliant for building up deep holes or laying temporary haul roads for site traffic.
Road Plannings
The old tarmac scraped off highways. It’s cheap and packs down brilliantly. Great for farm tracks or a temporary hard standing.
Sands
Never mix up your sands. It’s a rookie mistake that will ruin your mortar or concrete.
Sharp Sand / Grit Sand:
This feels coarse and gritty. We use it for laying block paving, mixing floor screeds, or adding strength to heavy-duty concrete mixes.
Building Sand:
This is much softer and smoother. It’s exactly what you need for mixing bricklaying mortar because it makes the mix pliable and easy to work with. Never use this as a base under slabs; it just washes away.
Kiln Dried Sand:
This is bone dry, ultra-fine sand. You simply brush it into the joints of block paving to lock the bricks together. Don’t try using it in the wet!
Decorative
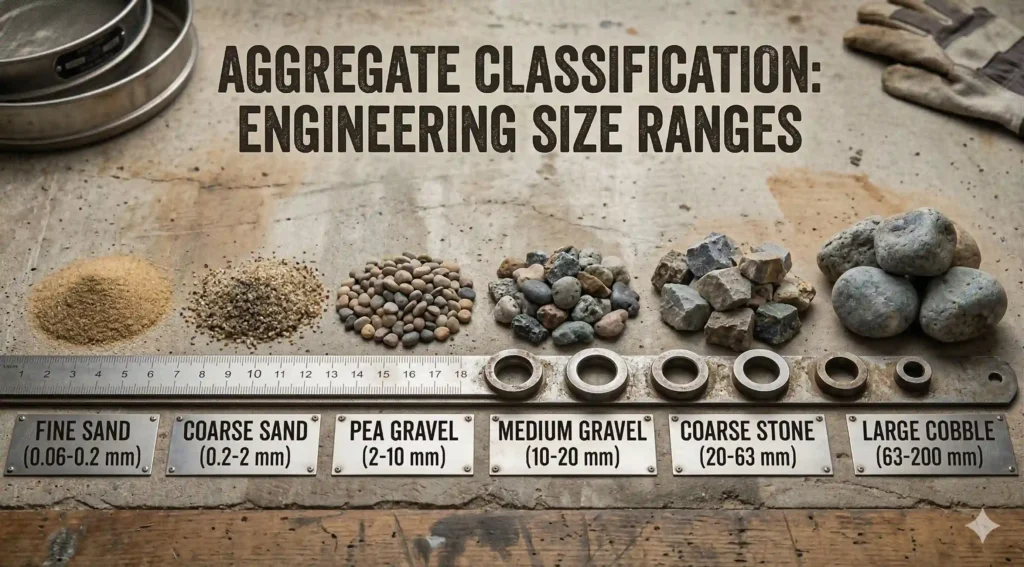
This is the stuff the client actually sees, so getting the right size is crucial.
10mm vs. 20mm Gravel / Pea Shingle:
10mm looks great on paths but it gets stuck in the treads of car tyres and dragged into the house. For driveways, always stick to 20mm.
40mm Slate Chippings:
Looks brilliant on garden borders and lays nice and flat. It’s also great for suppressing weeds when put over a decent membrane.
Gabion Stone:
Big, chunky, fist-sized rocks. We use these to fill up those wire mesh baskets you see retaining earth banks.
Self-Binding Gravel:
This has a lot of clay and dust in it. When you roll it wet, it sets hard but keeps a natural look. Brilliant for woodland paths or rural driveways.
Landscaping & Concrete
20mm All-in Ballast:
10mm looks great on paths but it gets stuck in the treads of car tyres and dragged into the house. For driveways, always stick to 20mm.
Limestone Scalping:
Looks brilliant on garden borders and lays nice and flat. It’s also great for suppressing weeds when put over a decent membrane.
How to Calculate Stone & Aggregate Costs (and avoid hidden site fees)
Finding the cheapest price per tonne online is only half the battle. After 15 years of managing site budgets, I can tell you that getting the stuff actually tipped onto your driveway is where the real money goes.
That’s exactly why I added the cost feature to this calculator. But to get a true estimate of what the job will cost, you need to understand how the merchants actually charge you. Here is the reality of ordering aggregates.
Loose Loads vs. Bulk Bags
This is the biggest choice you’ll make, and it completely changes the price.
Bulk Bags (Jumbo Bags):
Don’t get caught out here. People often call them “tonne bags”, but a standard UK builders’ merchant bag is usually only 850kg. They are brilliant because the lorry driver can use a Hiab crane to lift them right over your garden wall or hedge. It keeps the site tidy and stops the stone washing down the drain if it rains. But, because the merchant has to pay someone to fill the bag, they charge you a premium.
Limestone Scalping:
Looks brilliant on garden borders and lays nice and flat. It’s also great for suppressing weeds when put over a decent membrane.
Don’t Forget the Delivery Fees
If you are only ordering a couple of bags of sharp sand, the delivery charge might actually cost more than the sand itself. Most local merchants will offer free delivery if you spend over a certain amount (usually a couple of hundred quid). If you are using an online supplier, always check their delivery zones. A grab lorry hire to drop off loose MOT Type 1 can easily add £150 to £250 to your bill, depending on where you live. Always add this to the final number the calculator gives you.
The Golden Rule: Factor in Wastage
The biggest mistake DIYers make is ordering the exact mathematical amount the calculator spits out.
When you run a heavy wacker plate over an MOT sub-base, it compacts down tightly into the soil. You also lose a bit spilling off the wheelbarrow, or it gets mixed into the mud. If you run short by half a tonne, you’ll have to pay a massive delivery fee just to get one extra bag sent out to finish the job. It completely wipes out any savings you made.
My advice? Always add 10% to your final figure. It is always cheaper to have a little bit left over than to stop a job dead because you’ve run out of stone.
Standard Depths: How Deep Do You Actually Need to Dig?
The number one mistake I see DIYers make is getting the depth wrong. If you guess the depth, the calculator will spit out the wrong tonnage, and you’ll either be sending stone back or paying a premium for a top-up delivery.
When you get to the ‘Depth’ box on the calculator, forget the guesswork. Stick to these industry standards that we use on site every single day.
Sub-Bases (MOT Type 1)
This is the structural backbone of your project. If you skimp on the depth here, your paving slabs will sink and crack the first time we get a heavy downpour.
Driveways
If you are parking standard family cars on it, you need a solid 150mm depth of MOT Type 1.
Patios and Pathways
For standard foot traffic or a standard shed base, you can dial it back. 100mm is the absolute minimum you want to lay before compacting it with a wacker plate.
Decorative Gravel and Shingle
People always assume deeper is better with decorative stone. It really isn’t.
Gravel Driveways
If you lay 20mm gravel any deeper than 50mm, it becomes an absolute nightmare. You’ll be wading through it like a pebble beach, your car tyres will spin, and it will end up all over the pavement. Stick to a strict 50mm.
Garden Paths
If you’re using 10mm pea shingle or slate chippings just for walking on, 35mm to 40mm is the sweet spot. Any deeper and it just spills over your timber edging boards.
Sand for Bedding
Once your sub-base is down and wacked solid, you need a layer of sharp sand to bed the bricks into. Set the calculator depth to 30mm or 40mm for your sharp sand layer. When you run the compactor over the finished blocks, it’ll press them down perfectly into that sand bed.