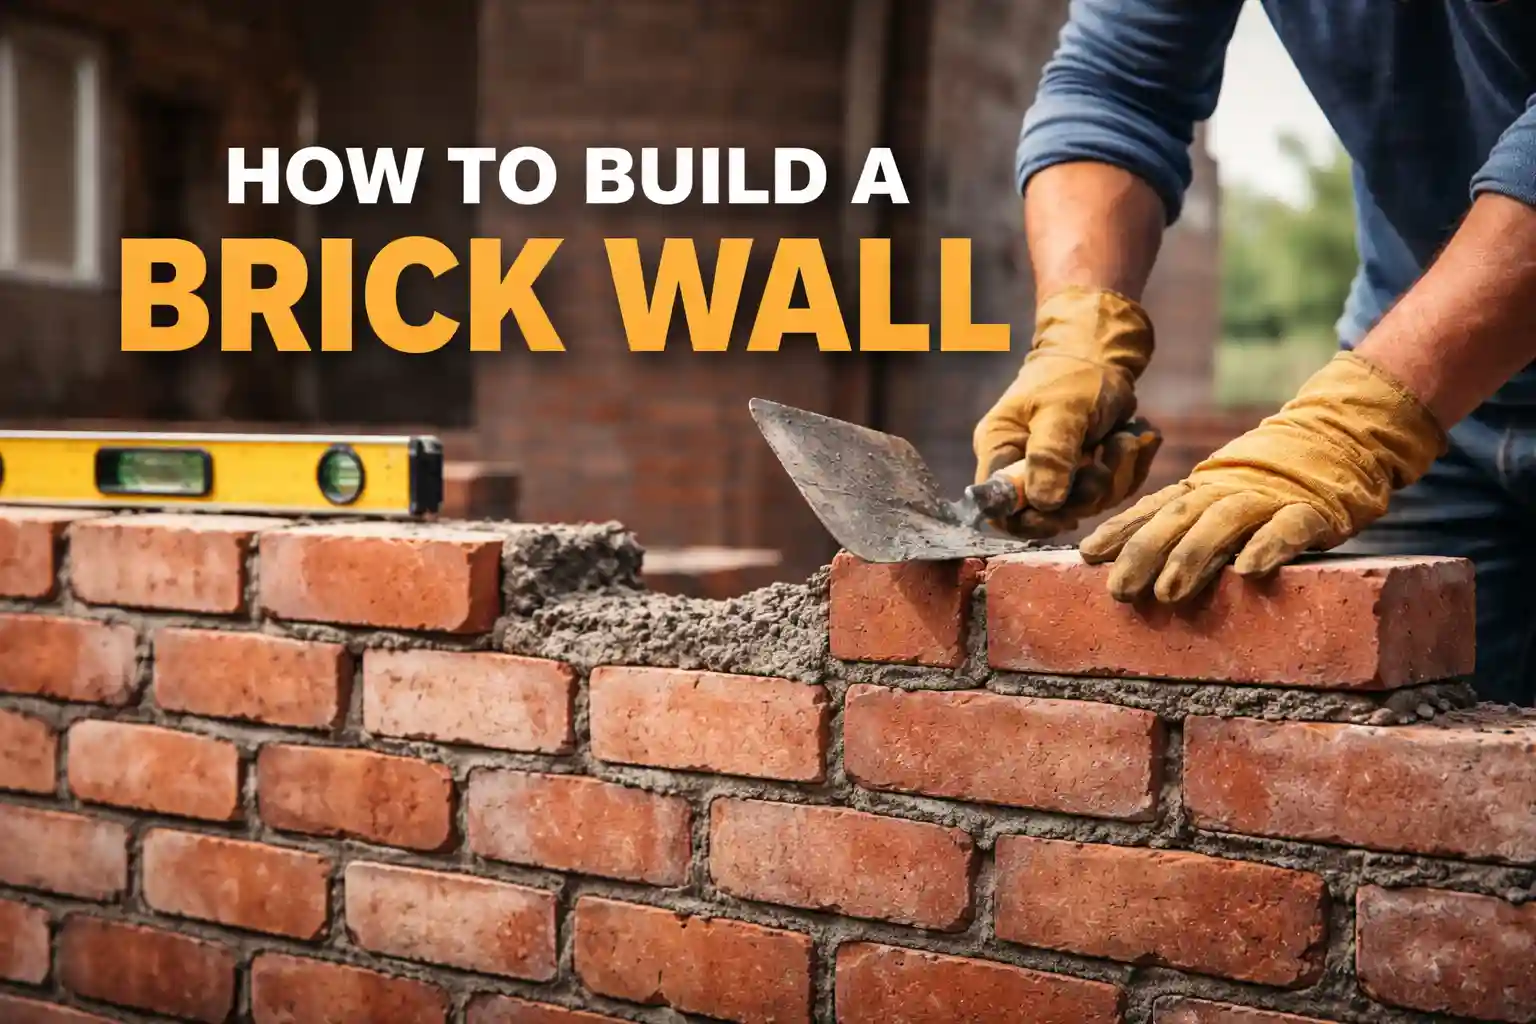
How to Build a Brick Wall (Step-by-Step DIY Guide)
Introduction:
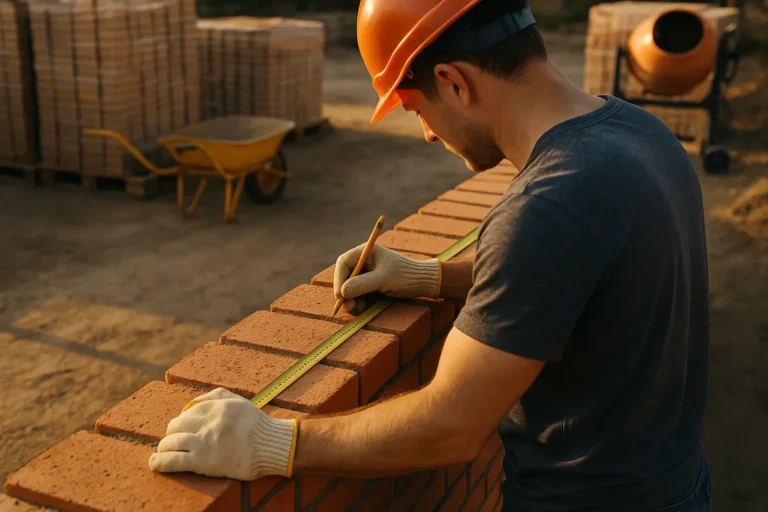
Lots of people think chucking up a garden wall is an easy weekend job. While bricklaying is considered one of the more approachable construction skills, it is not a task to be taken lightly. This rings especially true if you are building structural walls. The biggest blunder I see everyday builders make is guessing their materials. They usually end up completely short on facing bricks or wasting good money on surplus sand. Before you even think about mixing a single drop of mortar, use our free Brick Calculator to find your exact material quantities
The Bricklayer’s Toolkit
After fourteen years on the tools across British building sites, I can tell you straight away that poor equipment makes the job twice as hard. To get a professional finish, you need the right gear. Here is the essential toolkit every UK DIYer needs:
Tool | What It’s For |
|---|---|
This is your main tool. You’ll use it to spread the mortar bed, butter the ends of bricks, and tap them into place. A good trowel feels balanced in your hand, don’t go too cheap on this one. | |
These keep your brick courses straight and true. The longer spirit level (600mm-900mm) checks horizontal lines. | |
The torpedo level is handy for tighter spots and vertical checks. If your level is off, your whole wall will be. | |
Think of this as your visual guide. Once set up properly, it keeps every row straight from end to end. Without it, even experienced bricklayers can drift off line. | |
You’ll need this to cut half-bricks for proper joint staggering. A clean, firm strike gives you a neat split, no ragged edges. | |
You’ll need this to cut half-bricks for proper joint staggering. A clean, firm strike gives you a neat split, no ragged edges. | |
This finishes your mortar joints. It compresses the mortar into a smooth concave shape, which doesn’t just look good, it improves weather resistance and durability. |

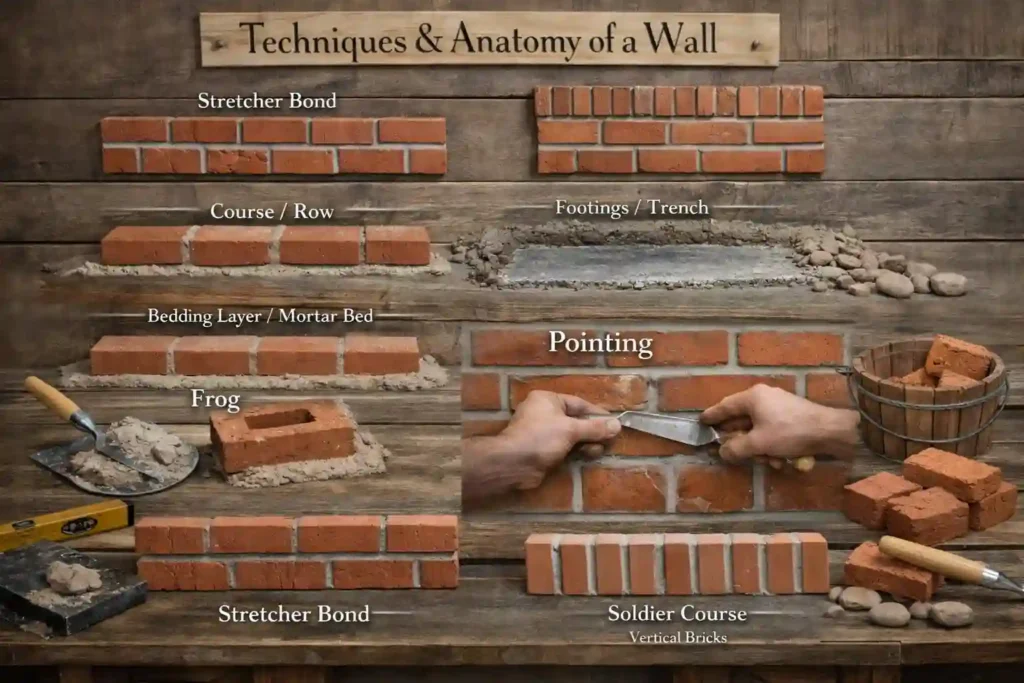
Techniques & Anatomy of a Wall
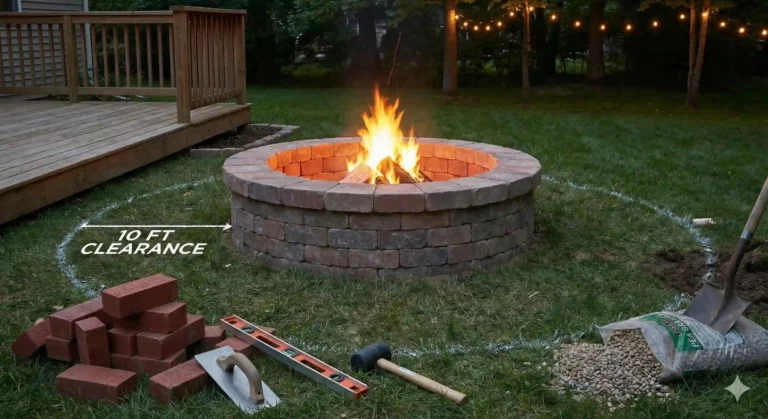
When I pull up to a backyard job, I always explain a fire pit like it is a three part system. You got the guts, the shell, and the footing. If you mess up any of these, you will be calling a guy like me to fix it next spring. Let us break down exactly what goes where.
The Guts: Your Interior Lining
- Course / Row:
A single horizontal layer of bricks. - Footings / Trench:
The dug-out foundation filled with concrete. - Bedding Layer / Mortar Bed:
The layer of mortar the brick sits on. - Buttering / Butter Up:
Applying mortar to the end of a brick before placing it. - Frog:
The indented part of the brick, which should usually be laid facing upwards. - Pointing:
The process of smoothing the mortar between bricks, often creating a concave recess. - Stretcher Bond:
The classic bricklaying pattern where the end of each brick sits over the center of the one beneath it. - Soldier Course:
A decorative top row where bricks are laid vertically lengthways.
Phase 1: Digging the Footings and Preparation
Any decent bricklayer will tell you that a solid foundation is the absolute key to stability. If your base moves then your entire wall will eventually crack.
The Trench
Grab your spade and dig out a trench where the wall will sit. For a standard garden wall your trench should be at least six inches deep and exactly three times the thickness of the bricks you are using. This gives the heavy masonry plenty of support to sit on without sinking into the soft soil.
Pouring the Concrete Footer
Once your trench is dug you need to drive level wooden stakes into the ground. These stakes act as a guide to gauge the height of your wall and keep your footings completely flat. Next you must fill the trench with concrete to create a solid footer. Smooth the wet concrete out until it sits perfectly flush with the top of your wooden stakes. Leave this concrete alone to cure properly for two to three days before you even think about laying a single brick.
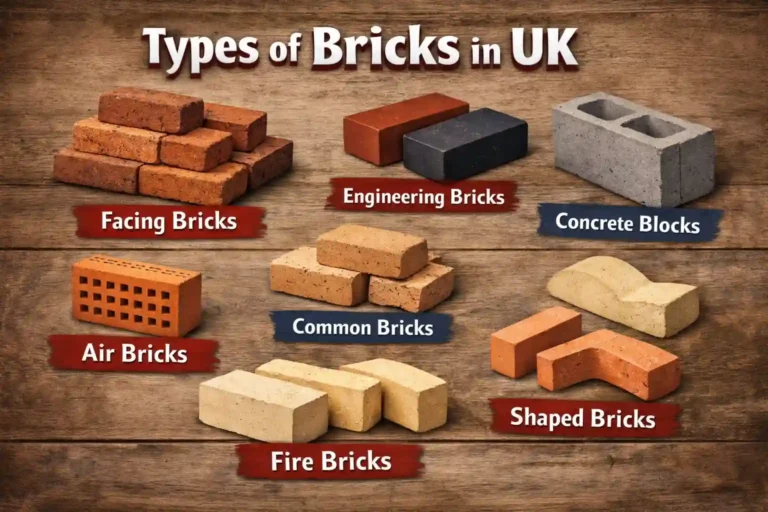
Choosing the Right Bricks
When it is time to start building choosing the right bricks is a massive deal for surviving the wet British weather. You must use dense engineering bricks for the first two courses below ground level because they stop ground moisture from creeping up into the masonry. Once you clear the soil line you can switch over to frost resistant F category bricks for the visible courses above ground. This simple choice stops the freezing winter ice from blowing the faces right off your nice new wall.
Phase 2: Mixing the Mortar and Prepping Bricks
The Mix
Let us get the mortar sorted. On UK building sites the standard mix is five shovels of sand to one shovel of cement. Heap it on your spot board and turn it over until the colour is completely even. Add water slowly and mix it to reach a smooth and creamy texture. You want the mortar wet but absolutely not too loose. If it is too runny it will slide right off your trowel.
The Soaking Rule
Before you start laying you must soak your bricks in water. If you lay them dry they will absorb all the moisture out of your fresh mortar and completely ruin the setting process. However you must let them drip dry before laying. If the bricks are too wet the excess water bleeds into the mortar and makes it far too runny.
Phase 3: Laying the First Course
The Dry Run
As a bricklayer I can promise you the first course is the most critical step. Always lay your first row of bricks in the foundation for a dry run without any mortar first. Testing the spacing like this lets you account for the mortar and check the correct distance before you commit.
The Bedding Layer
Once you are happy with the layout it is time to put down the bedding layer. Grab your trowel and lay a one to two centimetre mortar bed along your string line. Spread it out nicely so the heavy masonry has plenty of material to sit on.
Laying the Brick
Now place your very first brick into the mortar. You must always lay the brick frog side up. The frog is the indented side of the brick and keeping it facing upwards ensures the mortar fills the gap perfectly to create a much stronger wall.
Buttering
With the first brick down you need to prepare the next one. Take your trowel to butter up one end of the next brick with mortar. Abut it firmly to the first brick you laid. You must press them together carefully to maintain that standard 10mm thick vertical mortar joint. This buttering technique guarantees a solid bond between every single brick you lay.
Phase 4: Building Up and Stretcher Bond
Staggering Joints
Once your base is solid you need to start building upwards. For a stretcher bond the end of each brick should be over the centre of the one beneath. This staggering technique spreads the weight perfectly across the whole structure to give your masonry project real strength.
Cutting Bricks
To achieve this proper stagger you need to start every other new row with half a brick. Do not try to chop it with the edge of your trowel. To make a cut place the brick on its side locate the bolster at the split point and strike the head firmly with a club hammer. This gives you a clean snap every single time.
Gauging Rods and String Lines
As you work your way up the courses always remember to move the string line up as you build bedding it into the mortar on the pillars. You must always build at least a course higher on the pillars than the rest of the wall. Having the ends built up higher acts as a perfect visual guide.
Double Skin Walls
If your job requires a thick double skin wall you absolutely must secure the structure. To tie the two skins of the wall together lay metal wall ties at intervals in the mortar. They should not be more than 900mm apart on the horizontal plane and 450mm apart on the vertical.
Phase 5: Pointing and Finishing Touches
Pointing
You must leave the mortar until it is semi dry before you start pointing. If you touch it while it is too wet you will just smear cement all over your clean facing bricks. Use the rounded edge of your brick jointer to scrape the mortar into a neat concave joint. This shape is perfect for UK weather because it forces the rainwater to run straight off the wall.
Cleaning
Once you have shaped all your joints let them harden up a little bit. Then grab a soft bristle brush and give the entire wall a gentle sweep to remove any loose mortar. Do not scrub hard or you will ruin your fresh pointing work.
The Cap
To finish the top of the wall properly you have a couple of great options. Adding a soldier course is an attractive option to cap things off. Just turn your bricks vertically lengthways and lay them along the full length. Alternatively you can bed a solid coping stone on top to give the masonry a classic protective cap.
3 Rookie Mistakes That Will Ruin Your Wall
I have spent fourteen years knocking down and rebuilding garden walls because someone tried to rush the job. If you want your brickwork to stay standing you need to dodge these classic blunders.
Mistake 1
Drowning the Mortar
You absolutely must soak your bricks in water before you start building. However you have to wait until they no longer drip or the mortar may become too thin. If you pull them straight out of the bucket and lay them soaking wet the extra water bleeds into your mix and completely ruins the bond.
Mistake 2
Ignoring the Frog
I see this one all the time. Beginners pick up a brick and just lay it flat without checking the faces. You must always lay your brick with the frog side up. The frog is the indented face of the brick. Bricks need building with the frog facing upwards so the wet mortar can fill the pocket and lock the entire structure together properly.
Mistake 3
Letting the String Line Slack
Your string line is your only true guide for keeping things straight. If you do not pull it tight enough it will droop in the middle. You must keep the thread taut to build a level and solid wall without structural problems. If you let the line sag your wall will bow in the middle and you will have to tear the whole thing down.
Frequently Asked Questions (FAQ’s)